Connecting your Smart Autodoor to the Omlet App
This guide will walk you through the process of connecting your Smart Autodoor to the Omlet App. Please ensure you have downloaded and install the app on your phone before continuing
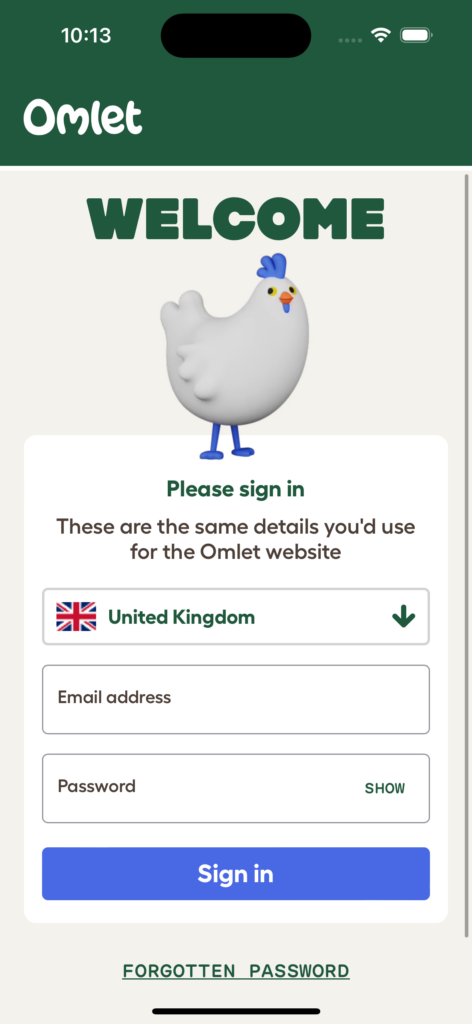
Step 1 – Log in
After opening the app, you will need to log in with your Omlet account (you can register within the app if you do not already have one)
Step 2- Set up control panel
Before continuing, please install your Omlet Autodoor on your chicken coop.
Connecting the power to the control panel prompts the device to be in “Discovery Mode”.
The control panel should say “Discovery Mode”, indicating it is ready to connect to the app.
If it does not say “Discovery Mode” please navigate through the menu to the “Wifi” option, and then press and hold “OK”.
Depending on your firmware version, the screen may show “Disabled”. If this is the case change the selection to “Discovery Mode”, and then press and hold “OK”
Once in “Discovery Mode” return to the app, and click the “Connect” button
Step 3 – Connect
To connect your phone and control panel, stand near (within 6 meters / 20 feet) your smart control panel, and click “Connect” to start the discovery process.
If prompted, select ‘Allow’ the app access to Bluetooth and Location Services. The app needs these permissions to function
(Note: We never use your location data, this is a requirement of the Bluetooth discovery protocol on some devices)
The app will scan for nearby bluetooth devices, and move on when the smart control panel is located.
If the device cannot be found:
- Try moving closer to the control panel.
- Verify the control panel is in Discovery Mode – the screen should be displaying “Discovery Mode”, if not, use the arrow buttons to navigate to the Wifi option, and then press and hold OK for 3 seconds to re-activate discovery mode
- (or power off and on again)
Step 4 – Select wifi
After locating the smart control panel, the app will ask the control panel to scan for nearby wireless networks.
Select your wireless network from the list and enter the network password, then click “Connect”
If your wireless network is not visible, you may need to move your coop closer to your access point, or install an additional access point or range extender to provide coverage where your coop is located
You can click “Search again” to start over, and rescan for wireless networks
Step 5 – Connecting to wifi
Your wifi password is transferred securely to the smart control panel, which will then attempt to connect to the network (Note: your wifi password is never stored within the app, or sent to our servers)
After successfully connecting to the network, the smart control panel will contact our server to register itself with your account.
After registration, the control panel will reboot, and then be ready to use.
If the control panel fails to connect to the wireless network, please re-check the password provided, and try again. If the signal strength indicator is low, try moving the coop closer to the access point, or installing an additional access point or range extender to provide better coverage for the coop.
Step 6 – Set your door colour
Finally, select the colour of your door so we can display the correct colour for you within the app (Note: the initial version of the app only has the green imagery, grey coming very soon!)
All set!
After rebooting, your smart control panel will upload it’s status and configuration to our server, and will be visible within the app. If the status is not displayed, give it a second, and then pull down the Autodoor card to refresh the screen.
Please note that the first time the Autodoor is installed it may require ‘calibration’.
If you see “calibrate” select it and your door will open and close a few times before updating